已解决飞行堡垒主板怎么拆卸?
提问者:请叫我慧子8 | 浏览次 | 提问时间:2017-06-06 | 回答数量:1
 请问飞行堡垒主板怎么拆卸?有教程吗?
提问者:请叫我慧子8 | 浏览次 | 提问时间:2017-06-06 | 回答数量:1
请问飞行堡垒主板怎么拆卸?有教程吗?

乐现觐决
回答数:179 | 被采纳数:133
 1/45
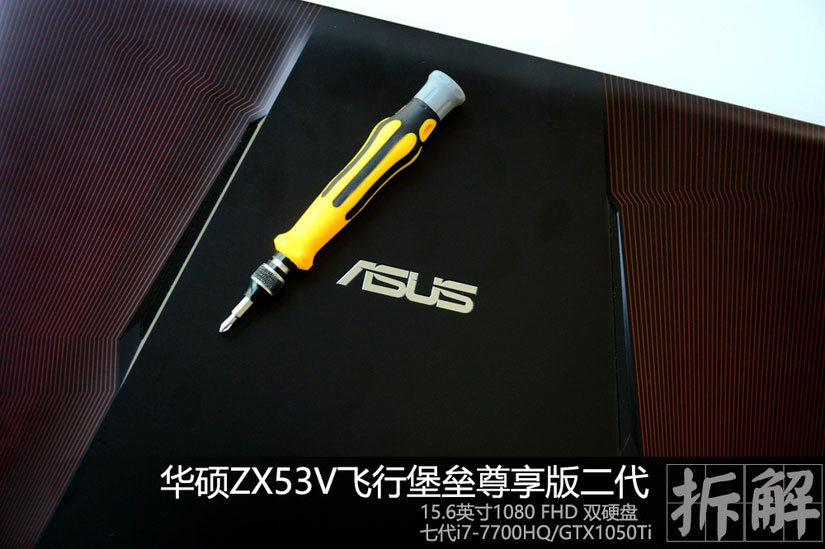
1/45 大家对华硕的飞行堡垒系列已经不陌生了,一款主打性价比的游戏本系列。这次我们拿到的机器型号是华硕ZX53V飞行堡垒尊享版二代,实际上也是一款升级硬件的机器。处理器是第七代酷睿i7-7700HQ,显卡为GTX1050Ti 4G独显,并且搭载了双硬盘,应该说,在系统和游戏的运行方面,已经达到了入门级别的旗舰配置。2/45
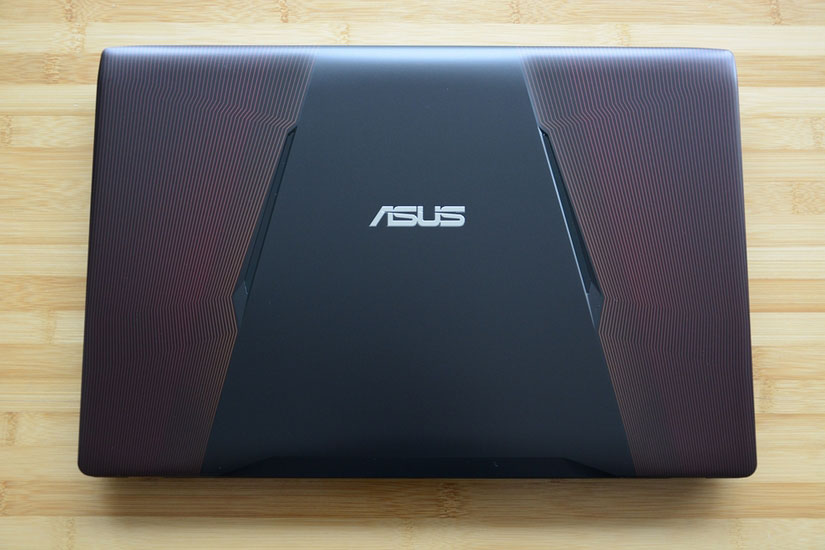 与其它型号不同的是,这款ZX53V系列在外观上采用了黑红搭配,在A面和键盘区设计了一些平行而不规则的暗红色线条,这些线条看上去毫无疑问给机器带来了一些视觉冲击。不过在整机模具方面,基本上没有变化。A面手感镜面,比较容易沾染指纹,也比较怕划伤。3/45
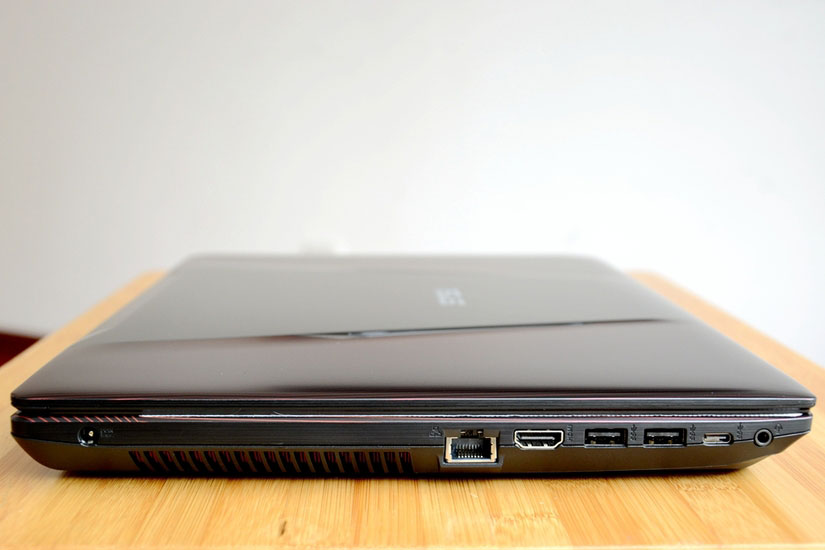 这款机身的厚度为3.0cm,算不上轻薄了,不过大家也了解游戏本,基本上都是傻笨重。左侧的接口比较集中,包括散热口和电源口也都在左侧。4/45
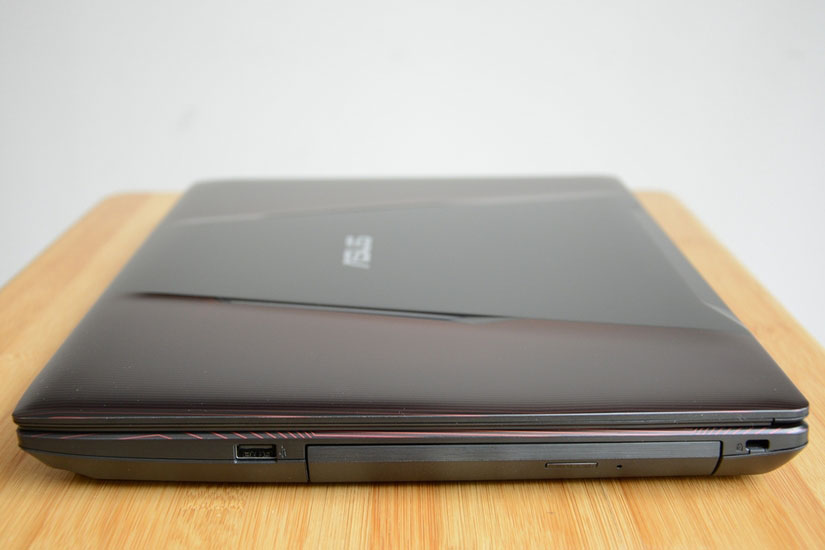 右侧的接口只有一个USB2.0,配置了DVD刻录光驱,相信现在已经很少有人再用到光驱。如果对存储还有更多需求,不妨将之改造成硬盘位。5/45
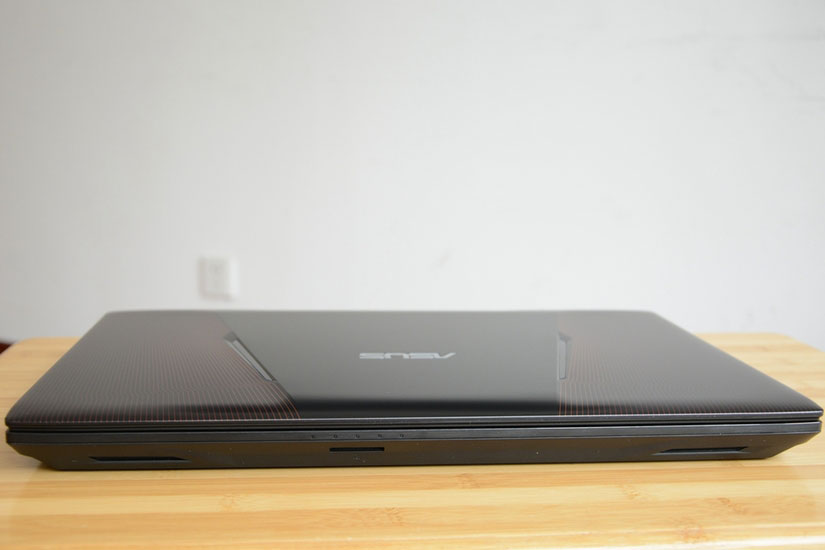 机身前侧是机器状态灯,以及靠下的SD卡槽和两侧的音箱系统。6/45
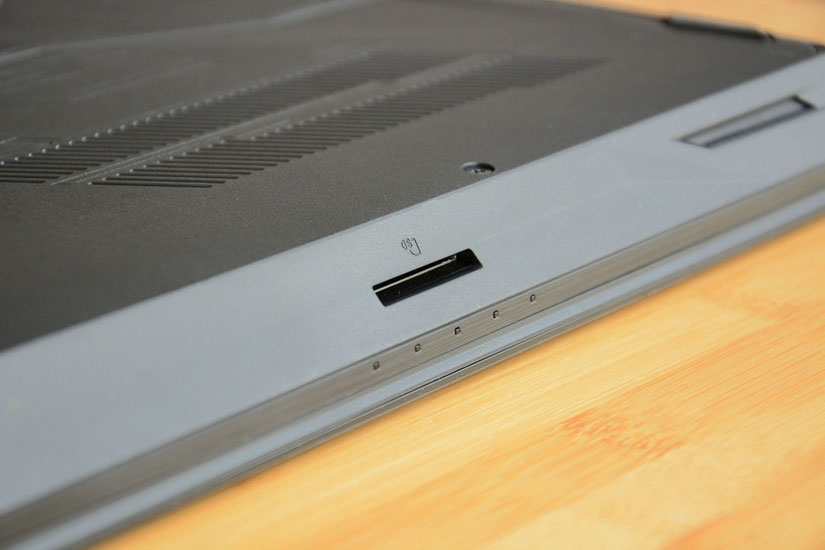 靠下的SD卡槽和边缘处的状态指示灯。7/45
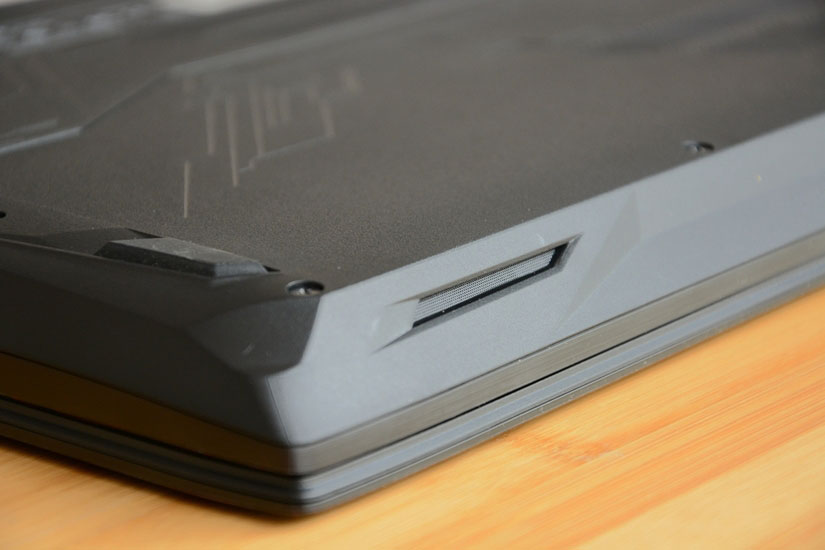 位于机身前端两侧的音箱。8/45
 这款华硕ZX53V飞行堡垒的屏幕尺寸为15.6英寸,硬件上配置了第七代酷睿i7-7700HQ处理器,显卡是GTX1050Ti 4G独显,内存8G单条,硬盘是128G SSD+1TB机械组合,这款显卡的级别低于1060,但肯定高于1050,所以相对游戏玩家,肯定会有更好的体验。9/45
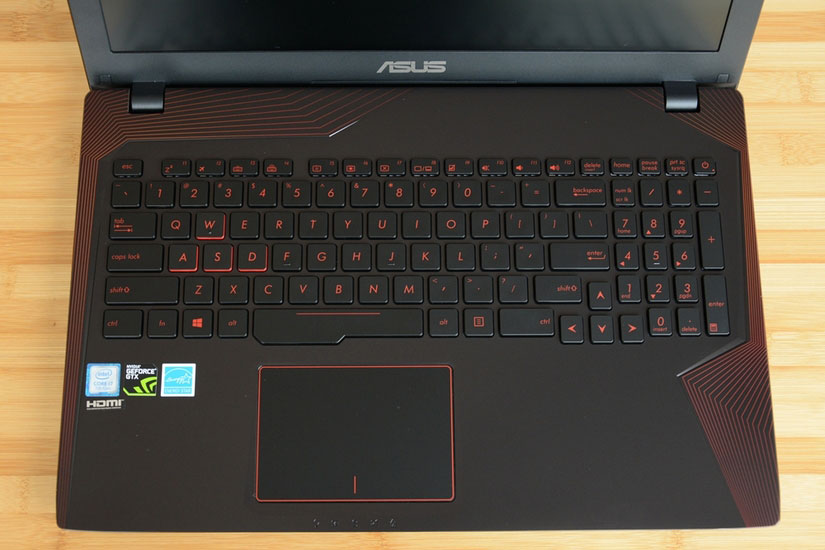 键盘区的边缘也设计了红色的线条,反而让整个C面没那么单调,得益于大尺寸,还在右侧设计了数字区。10/45
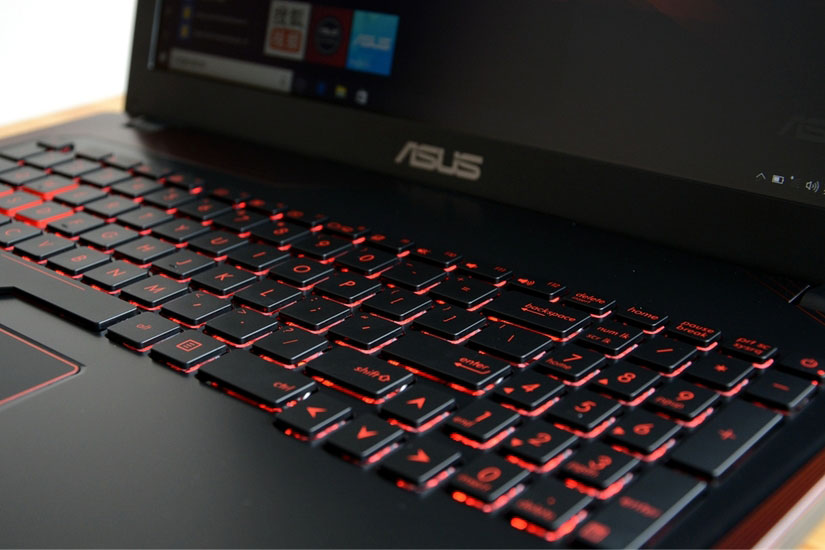 背光键盘,除了可关闭光源,还支持3级亮度调节。键程约2.3mm,但整体体验比较软,没有机械键盘的清脆刚毅。对于每天都打游戏的玩家,不妨添置一个机械。11/45
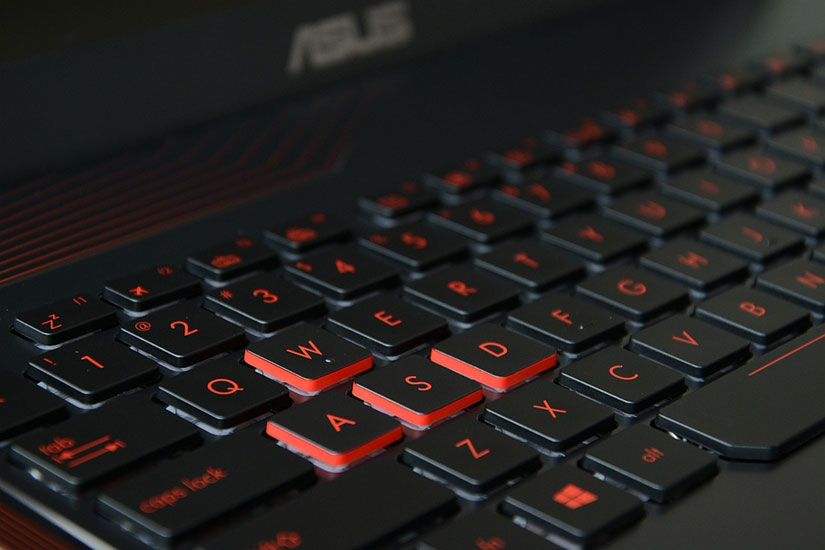 四个按键被特别处理,不管是否打开背光都能一眼看见。12/45
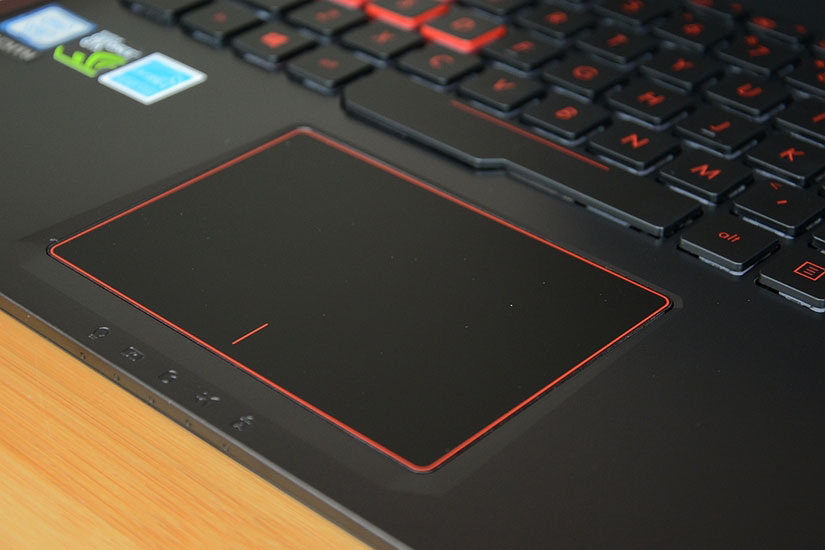 一体触控板,触感还不错,操作也比较灵敏。13/45
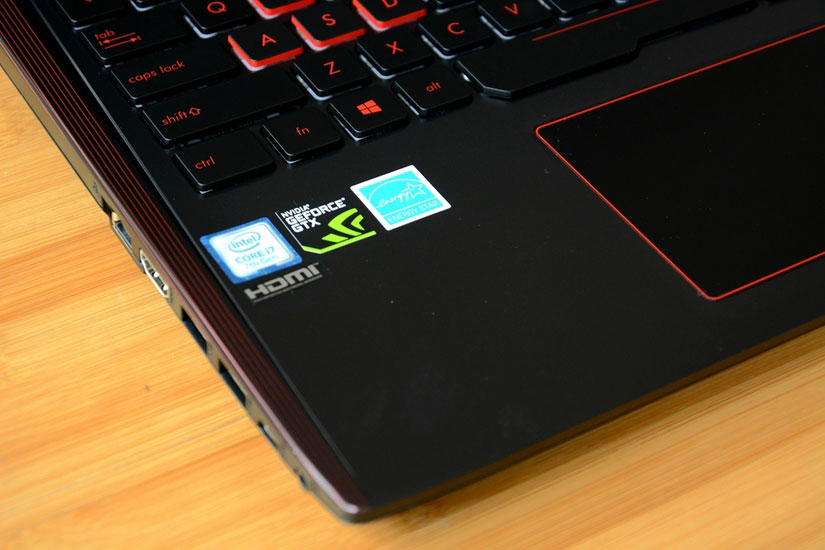 机器主要配件标贴,不算多。14/45
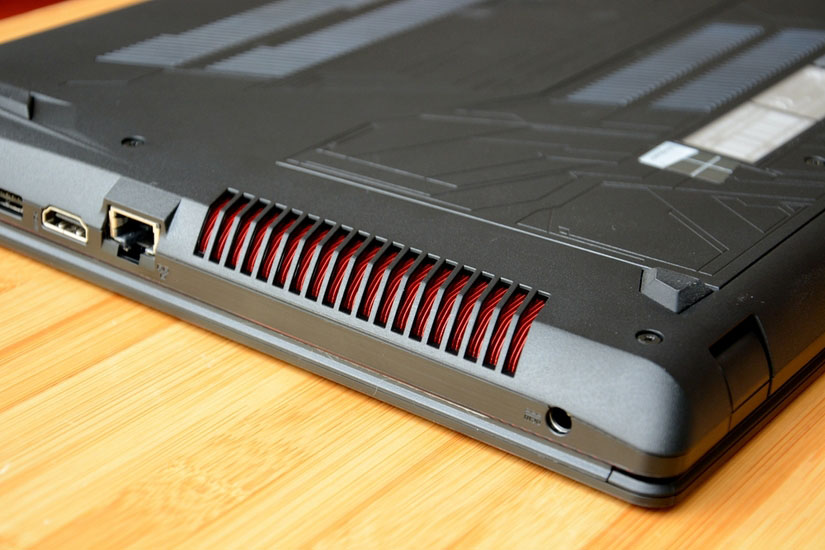 现在我们比较常见很多游戏本把散热设计到后侧,也就是后置式散热,主要的好处是避免散热直接接触身体。这款游戏本的散热虽然是在左侧,不过并不是直向吹出,而是略向下,所以正常情况下也感觉不到。经过我们的评测,这款机器的散热表现还是不错的,虽然是单风扇。15/45
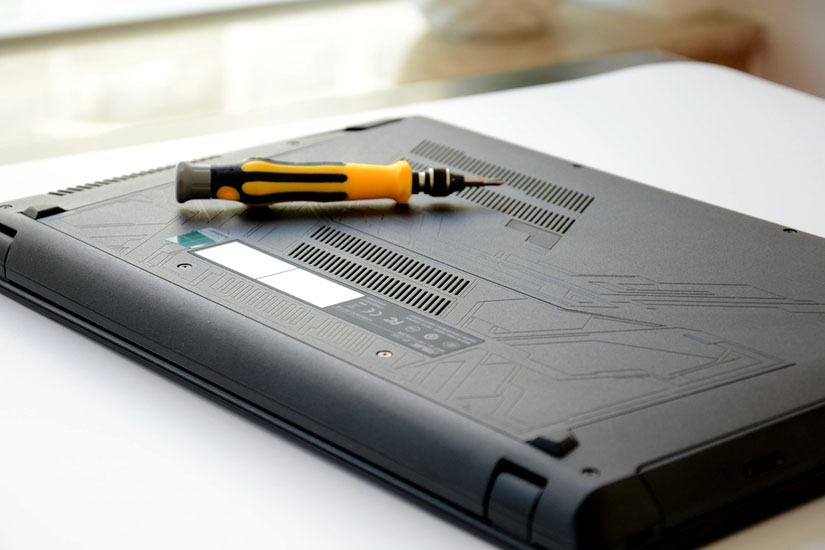 接下来我们就对这款华硕ZX53V飞行堡垒游戏本进行拆解。之前我们也拆解过这个型号的机器,所以基本上没有什么难点。16/45
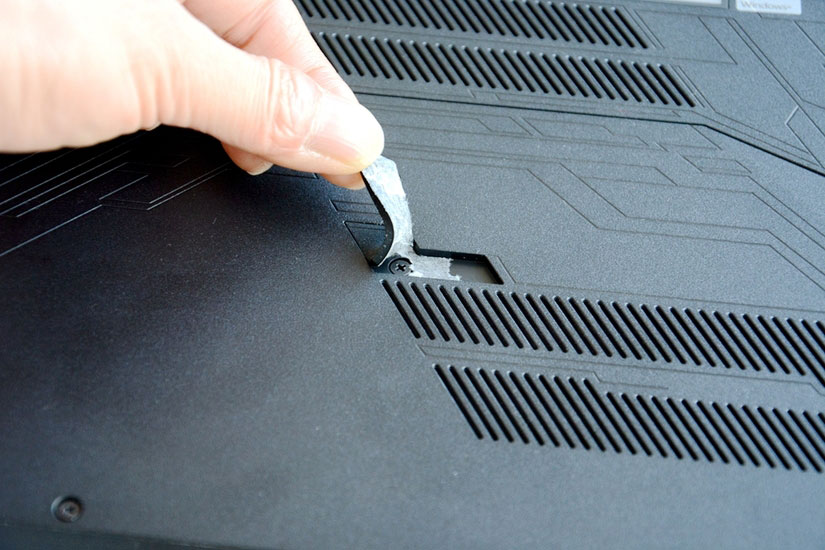 对于第一次拆解的朋友,一定要注意,在D面表面看见的螺钉都拧下后,中间还有一个三角的胶贴,轻轻撬开,这里还隐藏着一个螺钉。这样之后,后盖就能轻松打开了。17/45
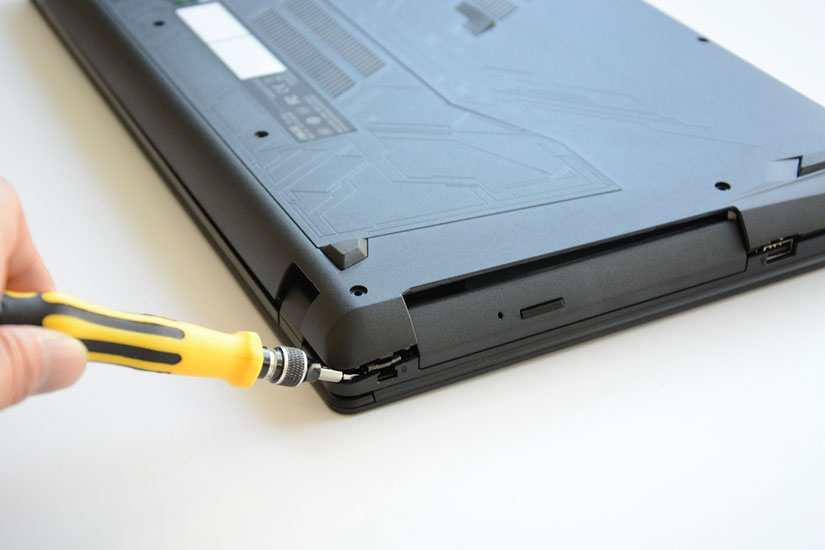 找到一个突破口,用划片或者一字螺丝刀打开,为了不伤害机器,建议使用塑料翘片,周边都是卡扣,只要别用力,都能保持完好。18/45
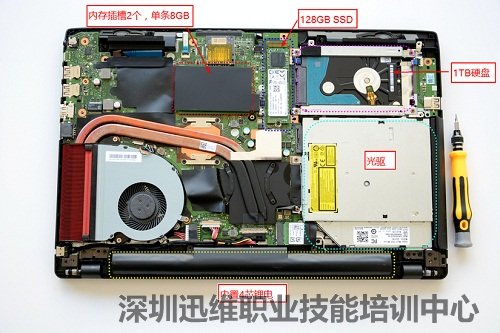
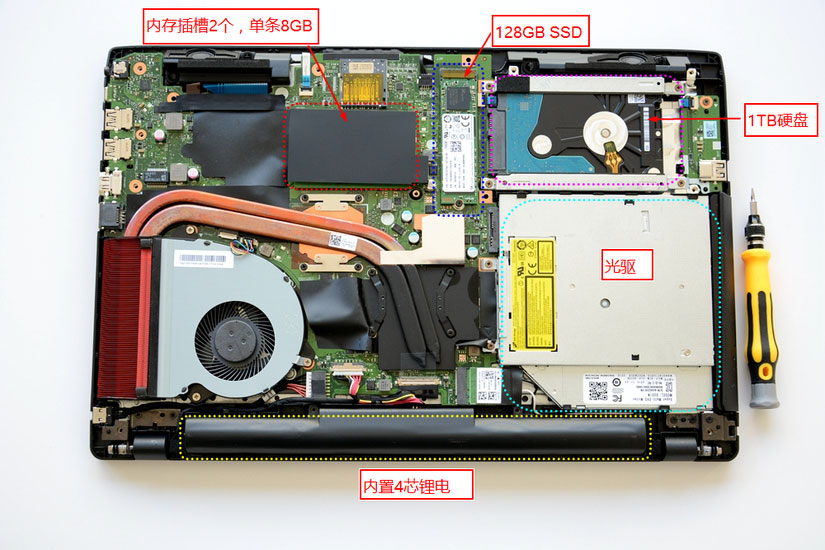 打开后盖,内部的配件、主板、散热管都一览无余了。第一眼看上去会以为很乱的样子,实际上是用了很多的贴纸来保护配件,比如防尘、隔热。19/45
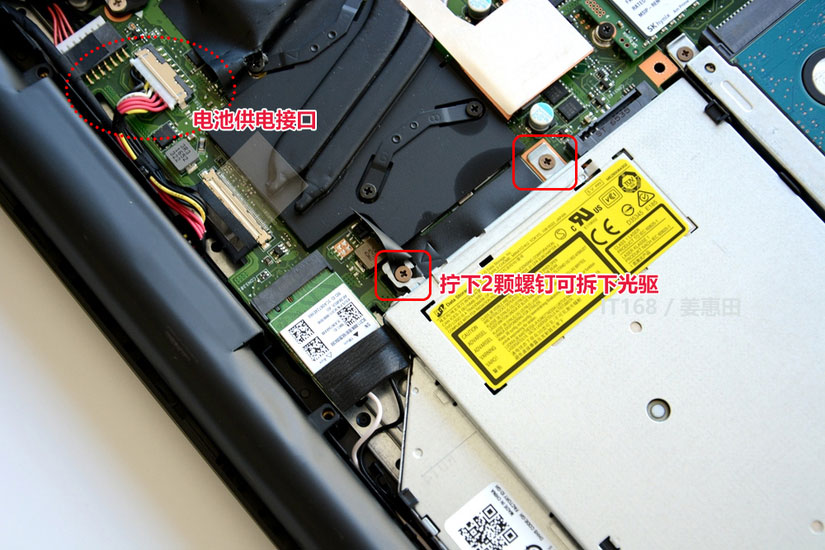 光驱的固定螺钉在内部,有两颗。在确定要拆解前,请先卸下内置的电池,以免触电。20/45
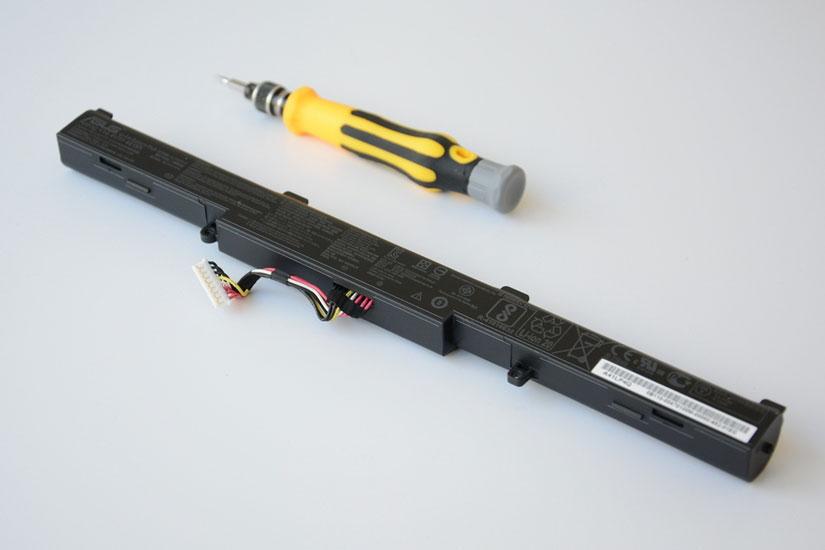 圆柱形的电池,4芯,续航时间一般。别跟轻薄商务本对比。21/45
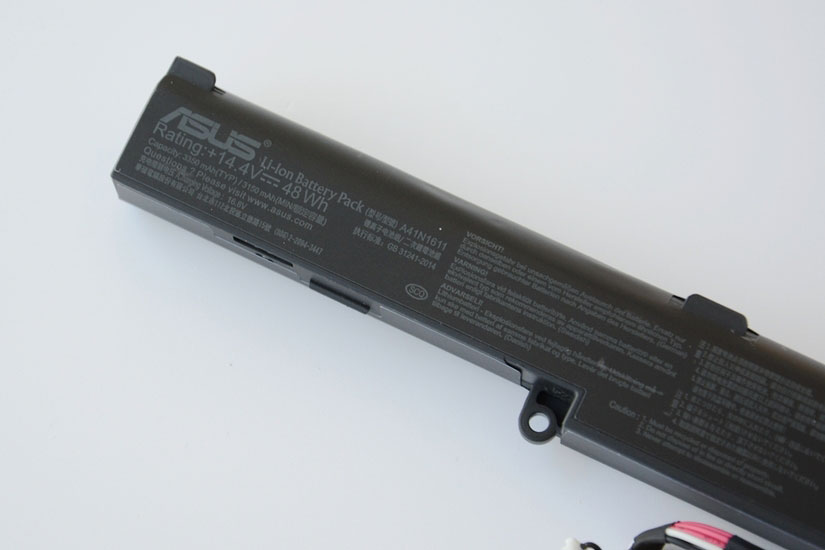 电池信息。22/45
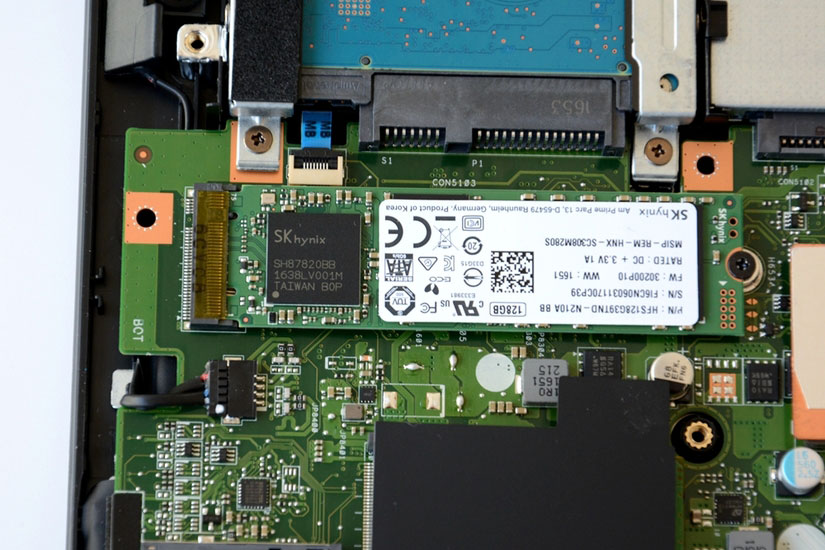 128GB SSD硬盘。实际上这个容量对于安装系统和常用软件也足够了。这台电脑的启动速度也很快,运行程序表现也很好。23/45
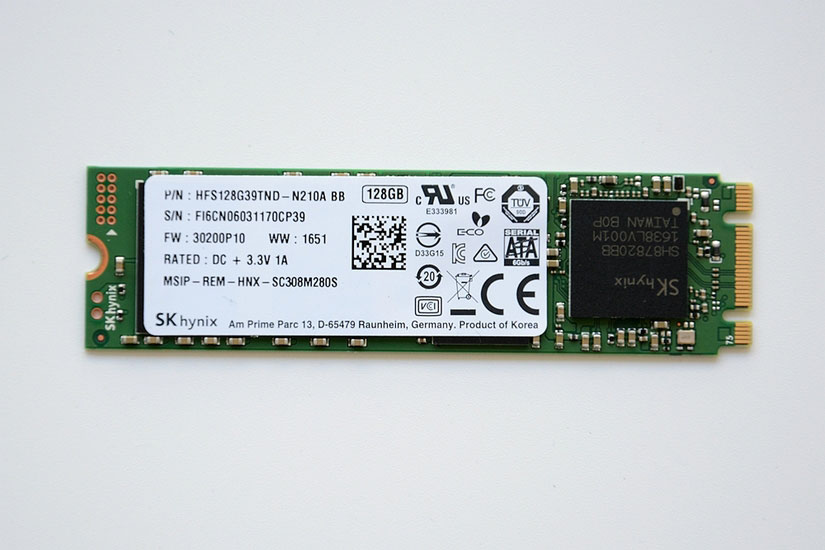 SK 海力士的硬盘。24/45
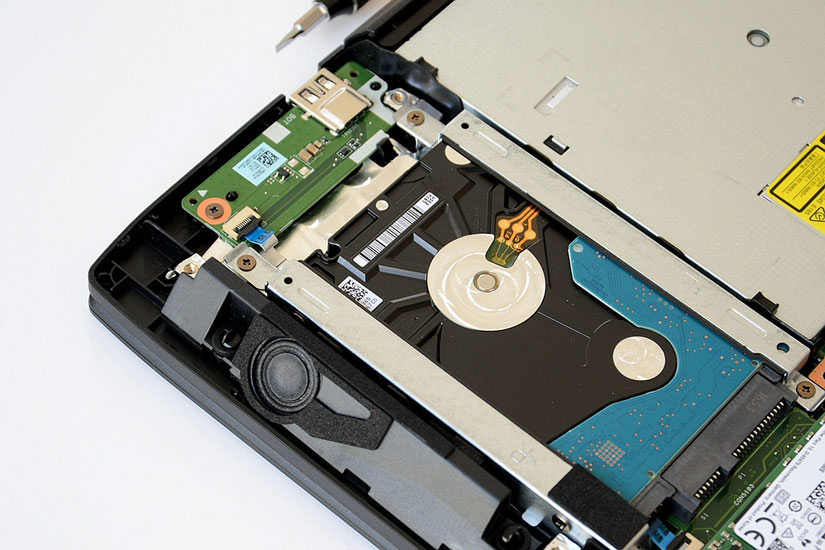 1TB机械硬盘,有固定架,4颗螺钉固定,很是牢固了。硬盘的侧面是音箱。25/45
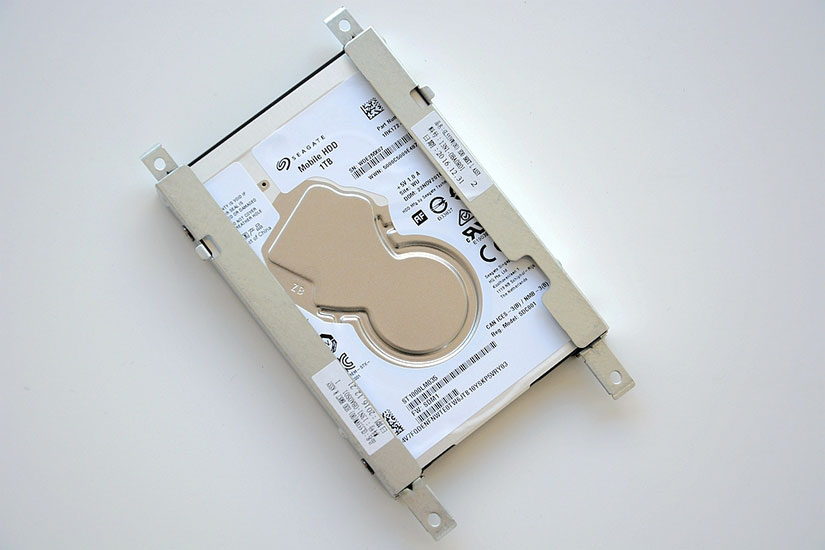 希捷机械键盘26/45
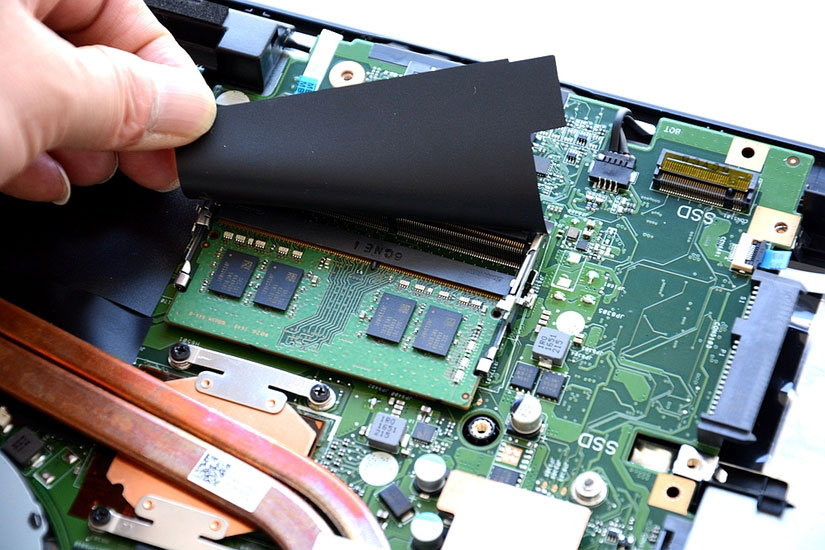 内存被隐藏起来了。两个插槽,还可以再扩充一个8GB的,这样就有16GB了。不过大多数用户也够用,没必要多花几百。27/45
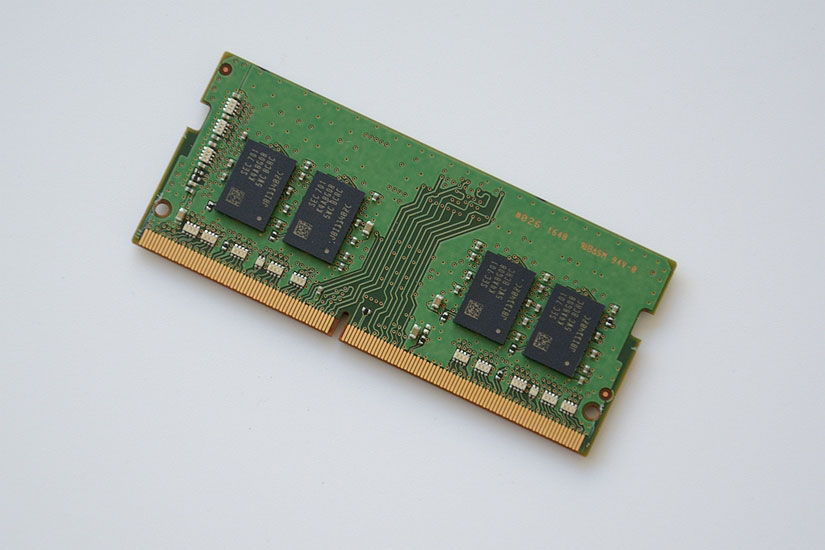 内存,单条8GB28/45
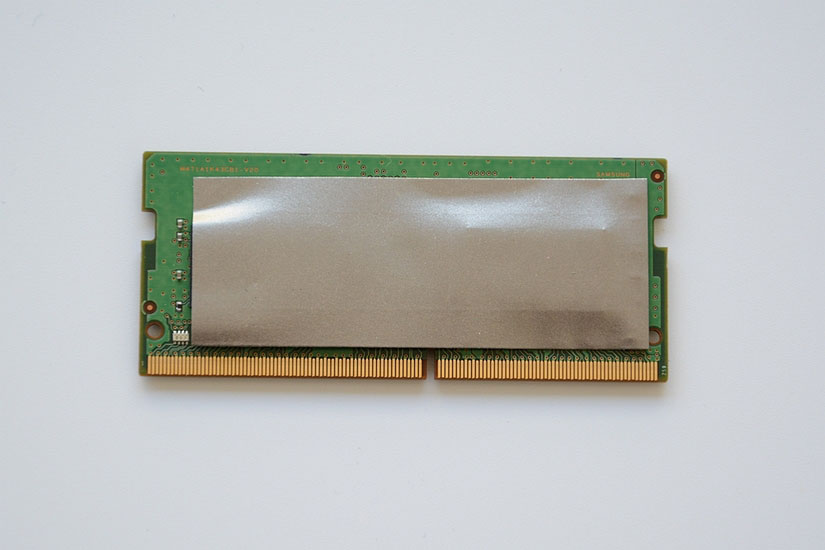 内存的这里也被用贴纸隔离了。29/45
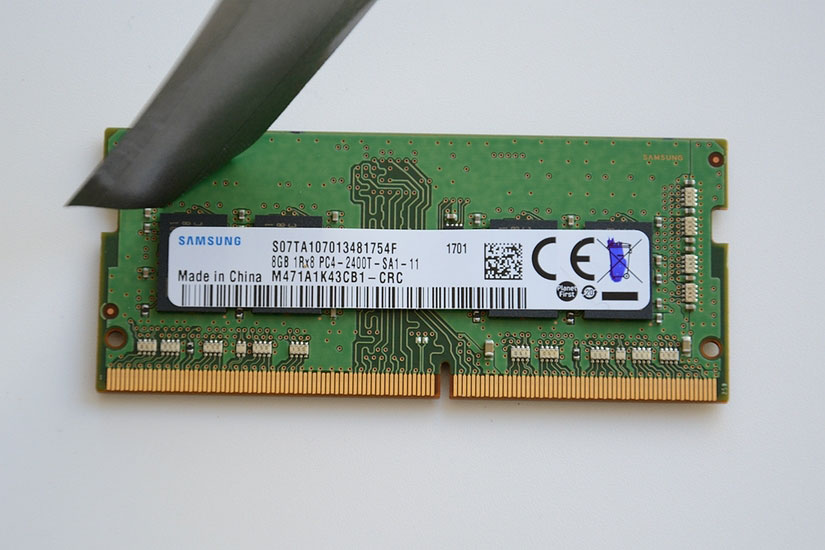 三星内存8GB.30/45
 存储三件。31/45
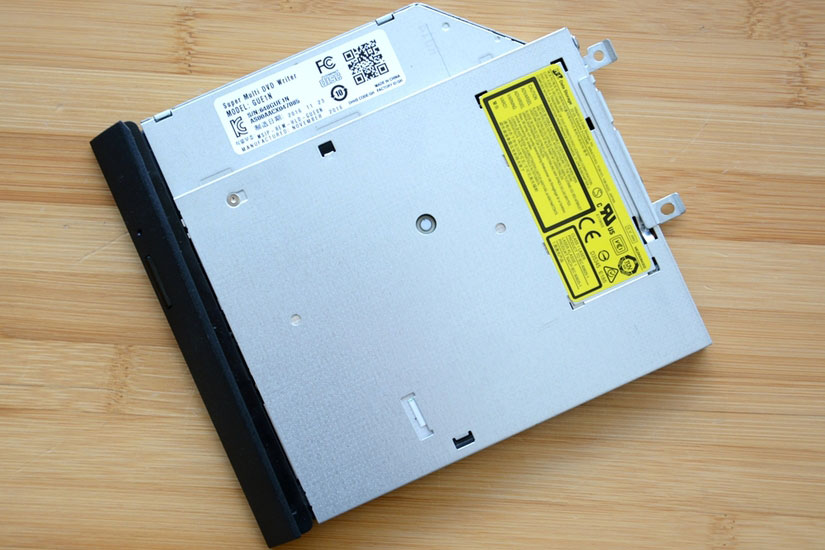 DVD刻录光驱。32/45
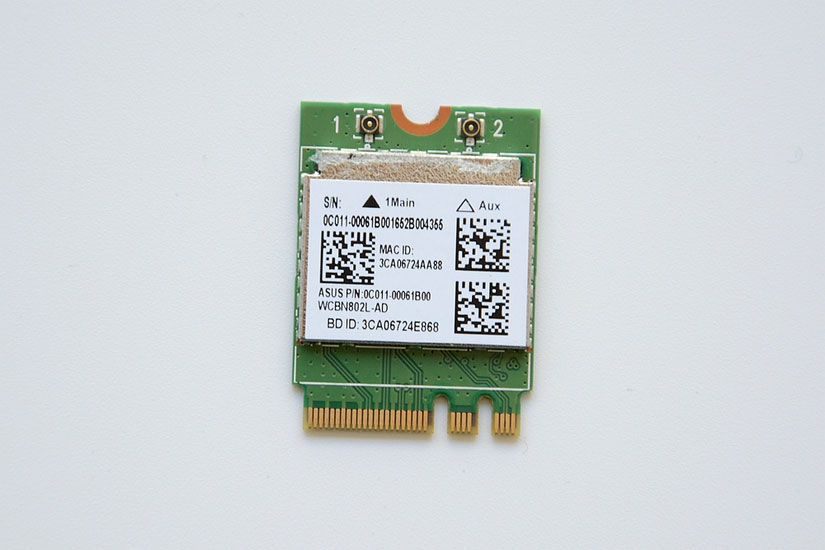 无线模块,台湾光宝,估计也是华硕自己的。33/45
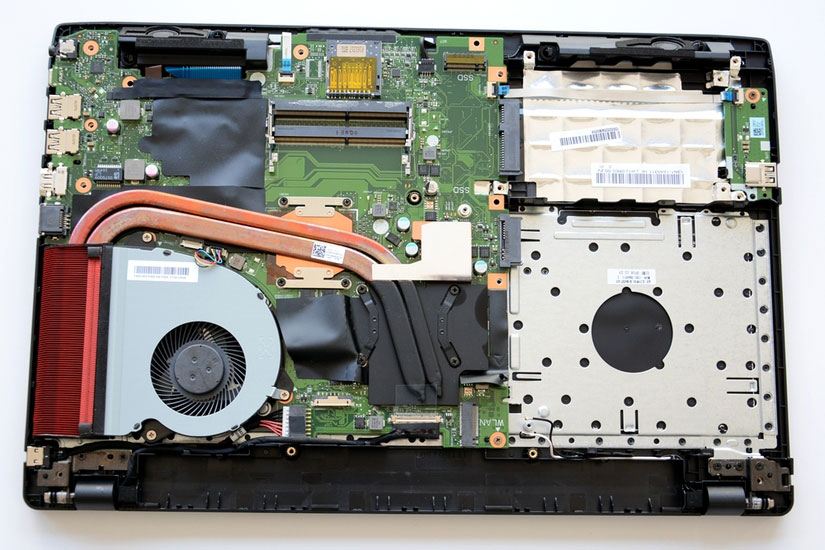 周边硬件都拆完了。还是比较简单的,没有遇到麻烦。34/45
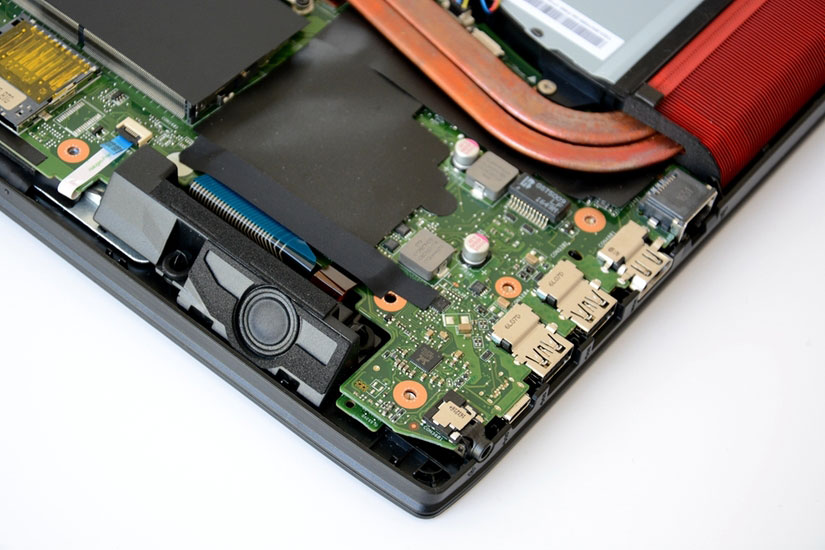 音箱和接口细节。35/45
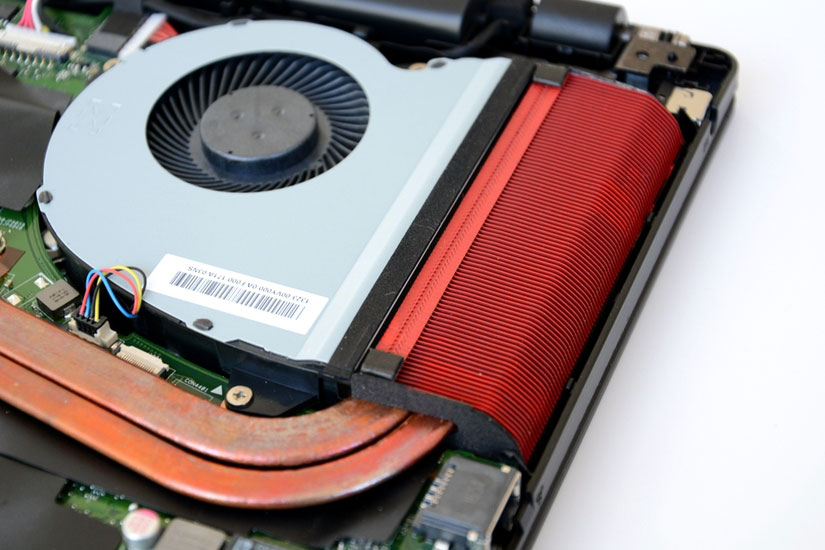 接下来是散热系统,先把风扇拆下来,涡轮风扇,看着比较大,感觉很有力。实际测试效果也不错。红色的散热片比较密集,导热铜管的用料也足。36/45
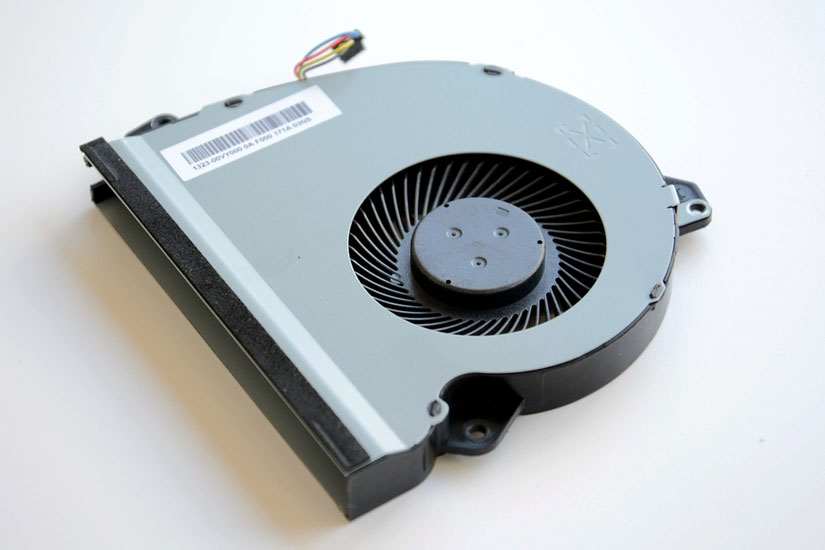 涡轮风扇。37/45
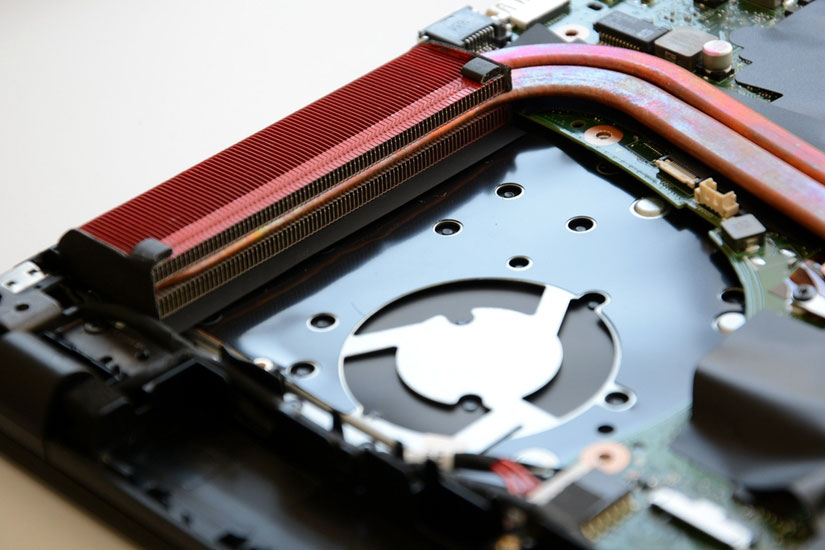 散热片细节。38/45
 想要拆下主板,需要首先拆掉所有的连接线,无须记住位置,主要是注意别弄断了,以及在安装的时候要到位。主板只有一颗螺钉固定,而且是在无线模块下面,所以一定要拆下无线。39/45
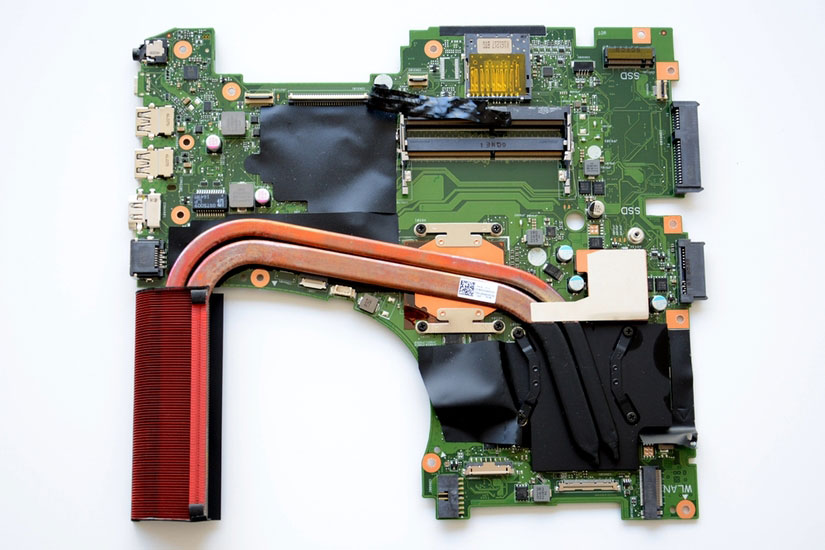 绿色的主板,散热系统占了一大块。40/45
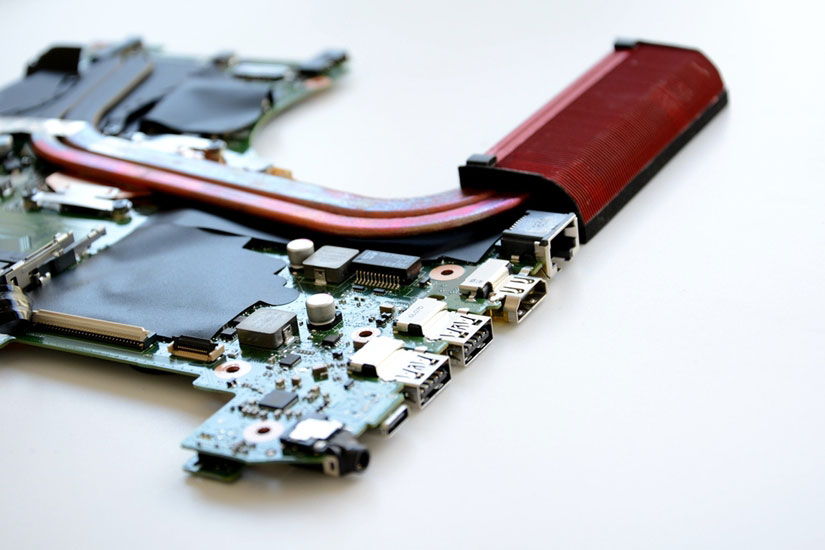 换个角度看看,相对主板上集成的东西比较多。41/45
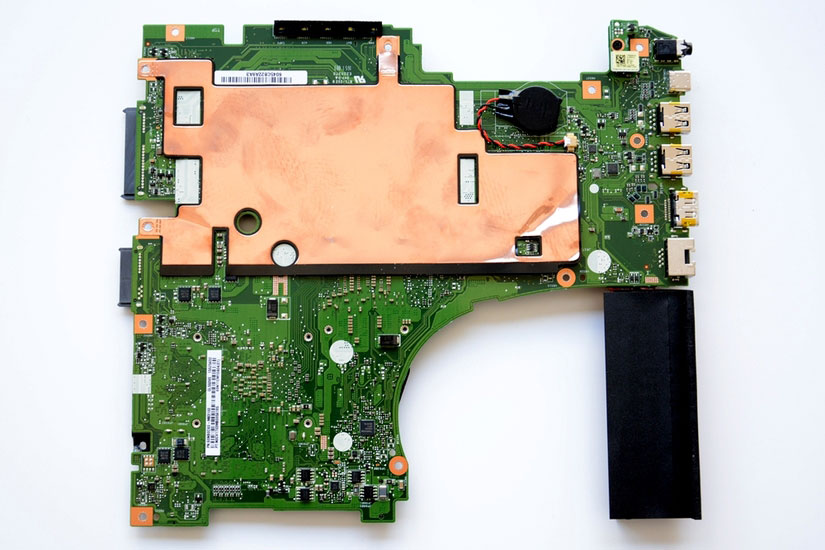 主板的背面,一大块铜片,也是散热之用,虽然此处的热量不会大。42/45
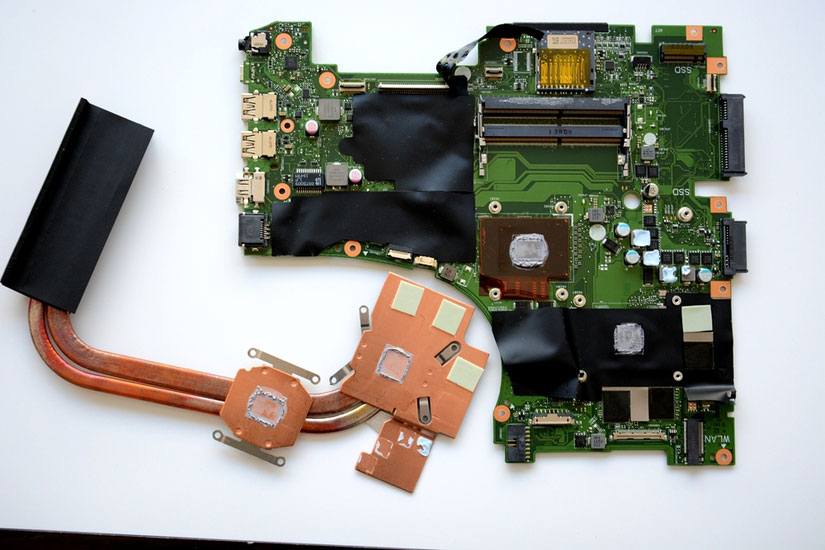 拧下处理器和显卡上的固定螺钉,就可以把铜管取下了。可以看到所有被覆盖的配件都使用了导热硅脂和导热胶片,用料十足。43/45
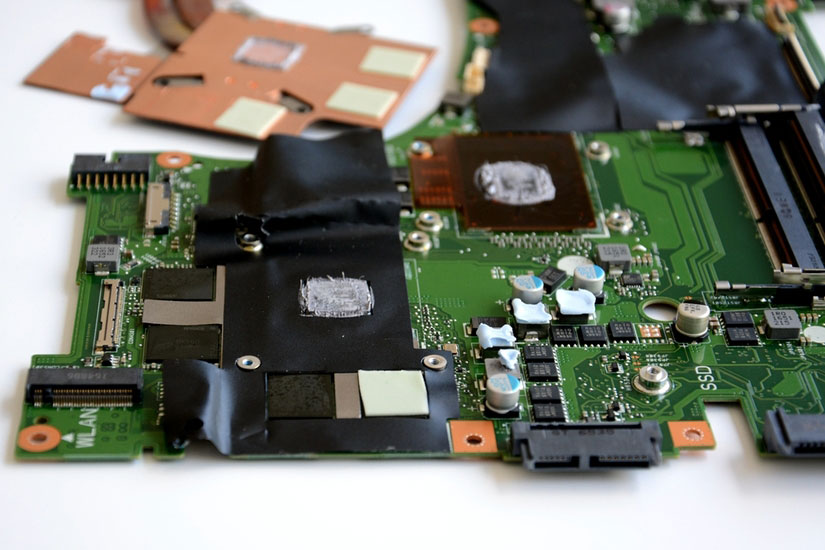 这里看着虽然凌乱,但各种贴片和导热材料,也能确保处理器、显卡、显存的散热需求,而且也能防尘。一般如果不是拆机,也感受不到什么,只要散热好,不用管内部怎样了。44/45
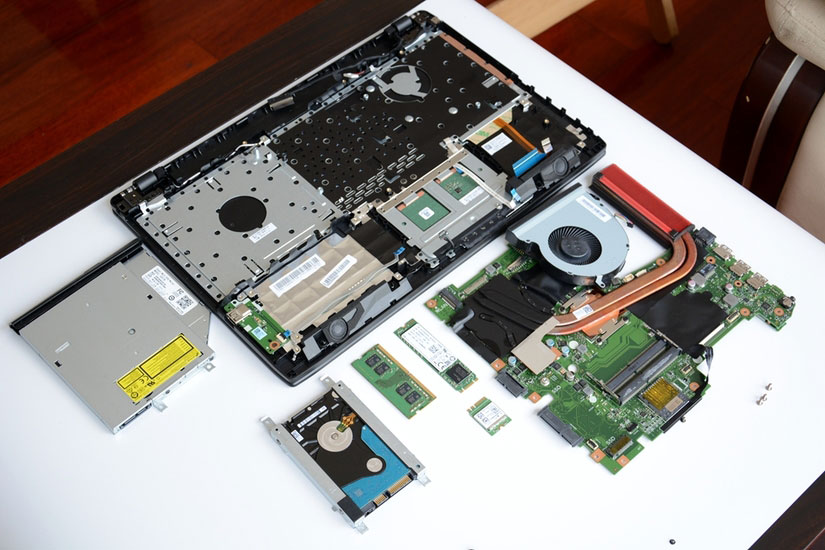 最后是一张全家福吧。机器内部看上去没那么整洁,主要是隔离片和散热导热系统造成的,但各种排线还是合理的、整齐的。所以,我们在测试的时候,发现这款游戏本的散热处理还是很好的,也是有原因的。至于模具,没必要追究是新的还是老的,只要稳定,为何不用呢?综合来看,华硕ZX53V飞行堡垒尊享版二代在配置上比较均衡,搭载的1050Ti带给这台机子性能上的提升,也是值得入手的一款游戏本。
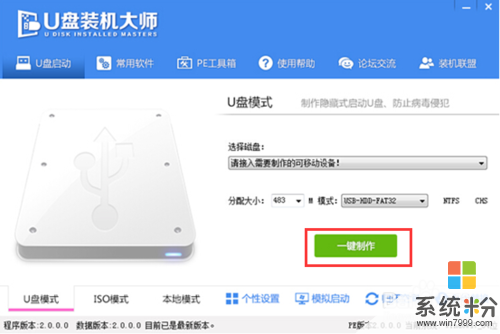
今天给大家带来华硕飞行堡垒FX-Plus笔记本u盘装系统win10的方法?,华硕飞行堡垒FX-Plus笔记本u盘如何装系统win10?,,让您轻松解决问题。华硕飞行堡垒FX-Plu...

夏天,吹空调和畅玩电脑游戏更配!一台性能强劲的游戏本助阵电竞战场非常有必要。华硕所推出的一款外观酷炫的游戏本--飞行堡垒ZX53VD,硬件实力十分强悍,搭载了七代标压处理器和十系...
很多人在选购游戏本时,一方面希望能够在办公室使用,外观尽量低调不要太过于炫酷;另一方面希望能够拥有强劲的硬件性能,满足游戏体验。华硕新推出的飞行堡垒NX580VD就是这样的存在,...

今天给大家带来黑鸭堡垒如何上去,黑鸭堡垒的上去方法,让您轻松解决问题。小编在黑鸦堡垒绕了好几圈后终于找到了能上楼的楼梯,结果出口是封死的。不过好在有小伙伴身上带了闪现,一个纵身就出...